
Setup Instructions for IceCase iPad Cooling Case by Qore Performance®
IceCase for iPad 10.2
1. What is in the box?

2. Separate Dual Lock Velcro for assembly (Pic of dual lock and platform)

3. Remove adhesive and apply Dual Lock to each platform

4. Install Platforms into SpeedSlots

5. Remove adhesive and apply Dual lock to SunShield feet


Then install Strap Loops into SpeedSlots


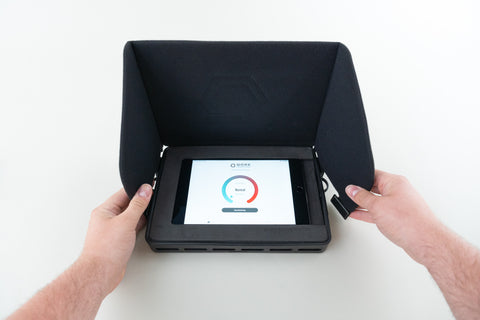
6. Install iPad


7. Attach SunShield to Platforms

8. Attach strap kit to Strap Loops


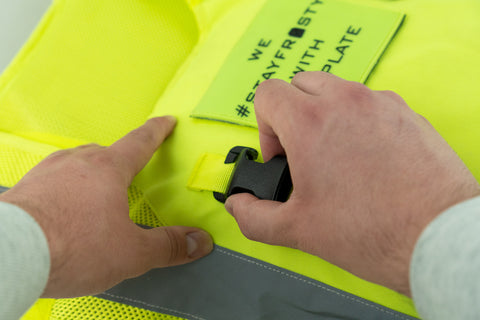
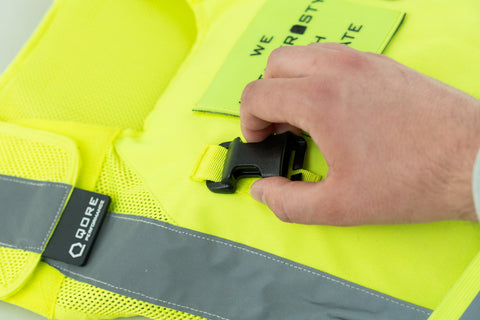
9. Install Swift Clips onto Vest/Backpack


10. Attach IceCase


IceCase for iPad Mini
1. Picture of parts on table

2. Install iPad into Mini foam and set aside (pic sliding in, then pic fully installed)

3. Separate Dual Lock Velcro for assembly (Pic of dual lock and platform)
4. Remove adhesive and apply Dual Lock to each platform

5. Install Platforms into SpeedSlots (picture of them installed)

6. Remove adhesive and apply Dual lock to SunShield feet (pic)


7. Install Strap Loops into SpeedSlots
8. Install foam plus iPad

9. Attach SunShield to Platforms
10. Attach strap kit to Strap Loops

11. Install Swift Clips onto Vest/Backpack
12. Attach IceCase
IceCase for iPad 9.7
1. Picture of parts on table

2. Install iPad into Mini foam and set aside (pic sliding in, then pic fully installed)

3. Separate Dual Lock Velcro for assembly (Pic of dual lock and platform)
4. Remove adhesive and apply Dual Lock to each platform
5. Install Platforms into SpeedSlots (picture of them installed)
6. Remove adhesive and apply Dual lock to SunShield feet
7. Install Strap Loops into SpeedSlots
8. Install foam plus iPad

9. Attach SunShield to Platforms

10. Attach strap kit to Strap Loops
11. Install Swift Clips onto Vest/Backpack
12. Attach IceCase


2 comments
Hi Michelle,
Right now, Apple will only let us distribute the StayFrosty App to select enterprise customers. While they (Apple) are restricting distribution, please email us and we’ll see if we can get you setup: Info [at] Qore Performance [dot] com – thanks and talk to you soon!
Hi, my boss received the ice packs this week and I’m having trouble downloading the Stayfrost app. Is there a set on instructions on how to get the app or is there a step I’m missing?