How to retrofit your IcePlate® Curve with the new One-Way Valve

The following article is by one of our long time customers, Gunnar Anderson. As a regular contributor to our IceAge Insights blog, we invited Gunnar to the beta test of our new One-Way Valve Retrofit Kit for IcePlate® Curve. The article below is entirely his, but we felt it would be helpful to others using the kit. Enjoy!
- Justin
///START GUEST ARTICLE///
Items needed:
- 3D printer
- 3/16” drill bit
- Power drill
- IcePlate® Curve (this retrofit will not work with the IcePlate® Classic)
- One-way valve

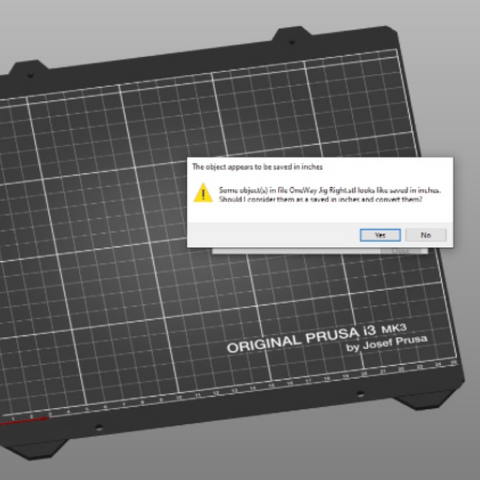
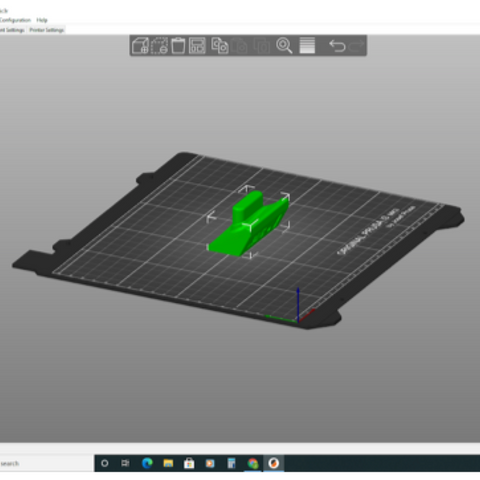
STEP 1: Decide which side of your IcePlate® Curve you’re going to install the one-way valve and download the corresponding STL file. My 3D printer is a Prusa i3 MK3S+ and uses Prusa Slic3r software. As you might expect from a device and software made in the Czech Republic, they use the metric system. When I loaded the jig file, the software detected that the file was created using inches and asked if I wanted to convert the file. I clicked “yes,” and Slic3r made the necessary changes for me. If your software doesn’t do this for you, I know Qore Performance® has STL files in both metric (millimeters) and imperial (inches).

Rotate the object 180 degrees so that the largest portion is facing down. There’s no need for a brim or supports.


You’re now ready to print the one-way valve jig. I used PLA since it was already loaded in my 3D printer.

STEP 2: Put the jig on the side you’ve chosen to insert the one-way valve. There’s no need to tape the jig to the IcePlate® Curve - the tolerances are such that friction will firmly hold the jig to the IcePlate®. Mark your drill bit at 1.5" with a piece of painters tape. Using a 3/16” drill bit, drill the hole. This takes all of five seconds.
Drill out a hole in the IcePlate® Curve using the jig as a guide. Stop at your tape mark to avoid drilling TWO holes in your IcePlate® Curve.

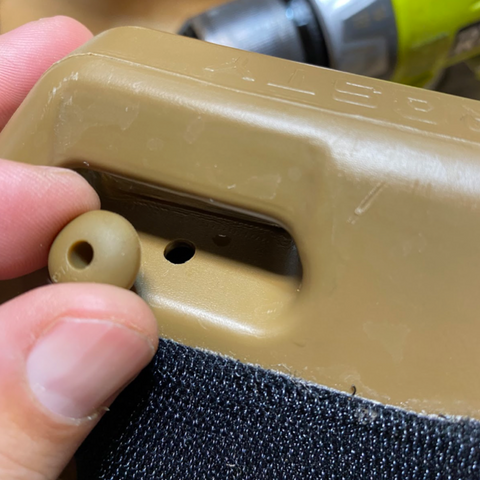
STEP 3: Insert the one-way valve. Because of the tolerances between the size of the hole and the size of the one-way valve, this step required a bit of finesse. I licked the one-way valve, pressed it into the hole, and moved it in small circles while pressing down until it went all the way in. (Insert bad Michael Scott joke here.)


STEP 4 (optional): Fill the IcePlate® Curve with a little water, swirl it around, and empty it out to make sure that any stray plastic shavings have been cleaned out of the inside. Repeat this step as necessary.
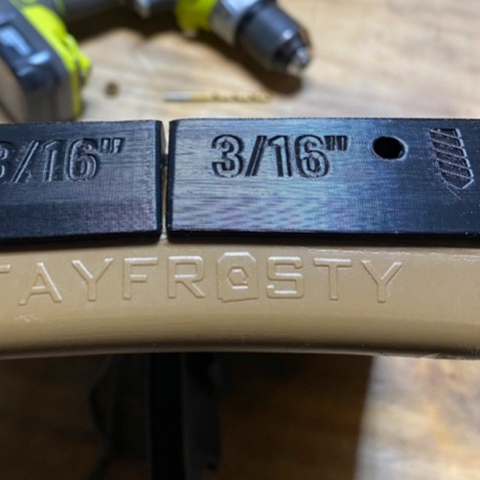
COMMENTS: This project was much easier than I expected. As much as I’d like to take credit for being exceptionally handy, Qore Performance® made this process nearly idiot-proof. (I use the word “nearly” because we all know there’s an idiot out there ready to accept this as a challenge and somehow screw this up.) Qore Performance® didn’t provide a paper template to use or just tell their customers to use a 3/16” drill bit. Instead, they did something that you would only expect of a high-end company - they designed jigs that you could 3D print at home. Each jig is marked with either “LEFT” or “RIGHT” and indicates to use a 3/16” drill bit.
If you don’t own a 3D printer, I’m sure you know someone who does - a friend, a coworker, your school-aged child, etc.
This is a project that anyone with an ounce of common sense can do with no more than a link to the STL file and a couple of common tools. But if you needed to read this article for a little reassurance before you drill into your $80 IcePlate® Curve, I hope it helped.
Gunnar Anderson is a former prosecutor and now trains and advises both law enforcement and emergency management.
///END GUEST ARTICLE///


Leave a comment